Setting up your Minecraft server for the first time can be an overwhelming task, especially if you don't have any prior experience. Eternal Hosting offers a variety of Minecraft server options, which might make it difficult to choose the right one. Fortunately, we're here to provide all the knowledge you need to set up and customize your own Minecraft server. Whether you're a group of friends playing Minecraft together or a social media personality building your own community, Eternal Hosting is here to support you and your dreams.
First, Understand Your Needs
Minecraft is an ever evolving game. On one hand, Mojang and its developers release new updates every few months. On the other hand, millions of independent developers create and release their own plugins, mods, and tools daily. With all these options, the first step is understanding what you want to achieve with your server.
Here are the key points to focus on:
- The game version - Choose between latest release, specific versions, or modded variants
- The server type - Vanilla, Bukkit, Spigot, Paper, Forge, or Fabric
- Plugins you want to use - Essential plugins for gameplay enhancement
- The number of players you expect - Determines RAM and CPU requirements
- The target user location - Affects server location choice for optimal ping
You can read our article on choosing the perfect server hardware to learn more about selecting the right server specifications. At Eternal Hosting, we offer Minecraft servers tailored to every user's needs, so you're sure to find the perfect fit.
Start with a smaller plan and upgrade as your community grows. It's easier to scale up than to pay for unused resources from the beginning.
How to Set Up Your First Minecraft Server
After choosing the ideal Minecraft server plan from our selection, you can start setting up your server.
- Complete Your Purchase: Once you've completed the payment process, your server will be activated within minutes. You will receive an email at your registered email address containing your login information for the server management panel.
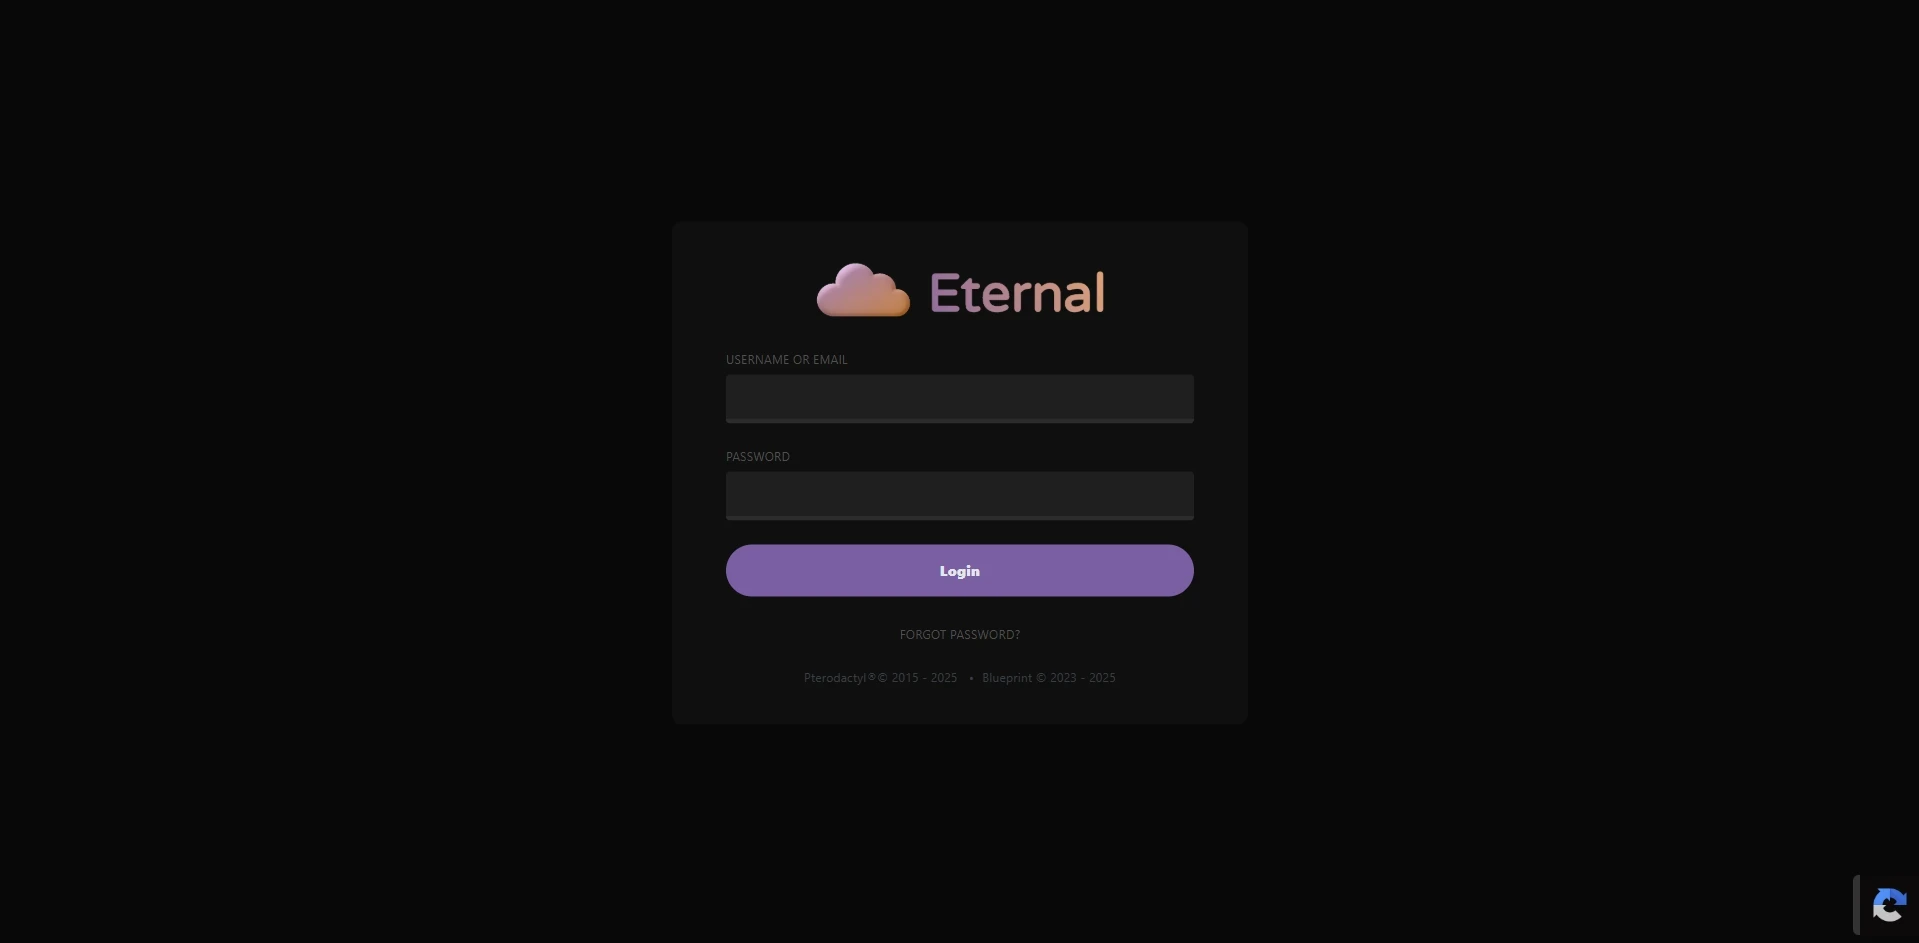
- Access the Control Panel: To log in to the panel, visit this link: http://gpanel.eternalhosting.cloud.
This link is also available on our main website under the "Game Panel" button.
- Login to Your Account: After accessing the panel, use the credentials provided in the email to log in. Once logged in, you'll be able to see and manage your server.
The Eternal Hosting control panel dashboard where you can manage all your servers
- Navigate to Your Server: Once you are logged in, you will see a similar page displaying all of your servers. This is your server list. The server you recently purchased will appear here, and if you purchase additional servers, they will also appear in this list.
- Open Server Console: When you are at your server list, simply click on the server you just purchased, and it will take you to the server console, where you can customize, edit, monitor, start, restart, and turn off your server.
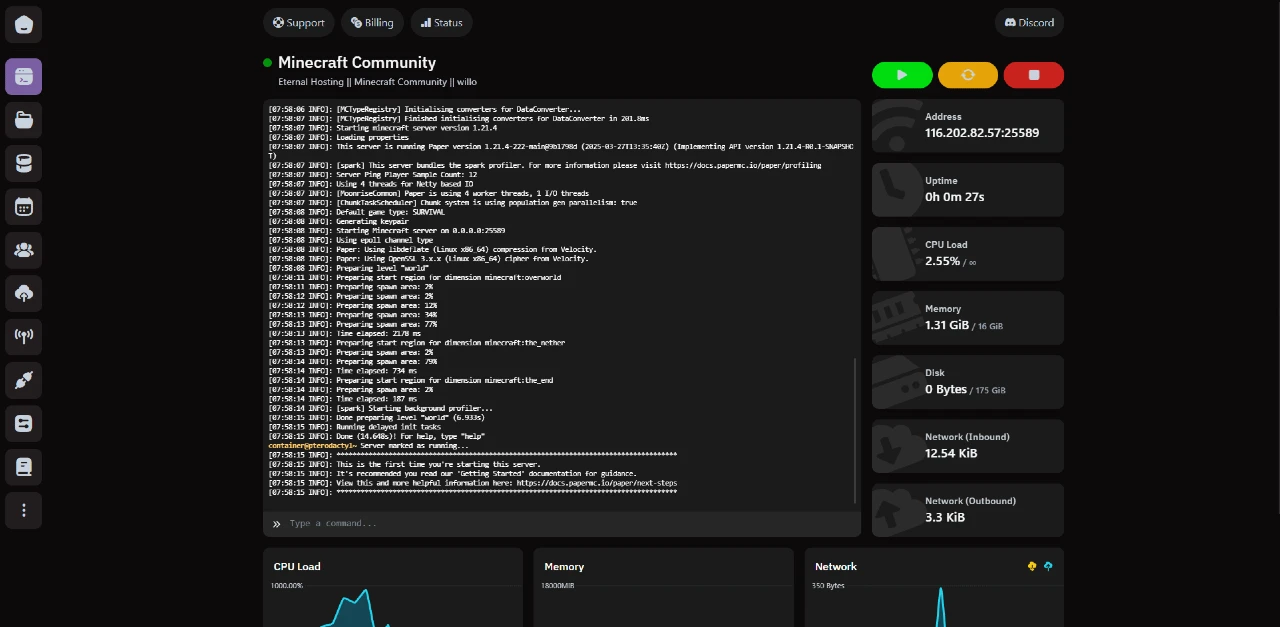
The server console interface - your command center for server management
This is your server console, where you can monitor and control everything about your server. Eternal Hosting offers an industry-standard, up-to-date console where you can do everything with just a few simple clicks.
Starting Your Server for the First Time
- Initialize the Server: To start your server, simply click on the green start button. This will initiate the server process for the first time.
- Accept Minecraft EULA: While the process runs in the background, it will ask you to accept Minecraft® EULA, which is mandatory for a server to start. Just click "I accept."

Accepting the Minecraft EULA is required for all servers
The Minecraft EULA acceptance is a one-time requirement. By accepting, you agree to Mojang's terms for running a Minecraft server. This is legally required for all Minecraft servers.
- Wait for Server Startup: The first time starting a server can take a few minutes to complete. You just have to wait until a green dot appears next to your server name and you see the message "Server marked as running..." in the console.
That means your server is up and running smoothly!
Connecting to Your New Server
That's it! Now you can simply copy the IP address of your server and join your newly created Minecraft server for the first time.
How to Connect:
- Copy Server IP: In the control panel, you'll find your server's IP address and port
- Open Minecraft: Launch your Minecraft Java Edition client
- Add Server: Go to Multiplayer → Add Server
- Enter Details: Paste the server IP and give your server a name
- Join: Click "Join Server" and start playing!
You can modify and enhance every aspect of your server as you wish. Eternal Hosting allows you to do everything with added ease through our panels.
You can learn more about every functionality of our panel by visiting our comprehensive server management guide.
Next Steps: Customizing Your Server
Now that your server is running, here are some immediate next steps you might want to consider:
Essential Server Configuration
- Set Server Properties: Configure game mode, difficulty, world type, and player limits
- Add Yourself as Operator: Give yourself admin permissions with
/op YourUsername - Configure Whitelist: Control who can join your server for security
- Set Up Backups: Enable automatic backups to protect your world
Popular Plugins to Consider
Check out our guide on 10 essential Minecraft plugins to enhance your server experience:
- EssentialsX: Core commands and utilities for server management
- WorldEdit: Powerful world editing and building tools
- LuckPerms: Advanced permission management system
- Vault: Economy and permission API for other plugins
Server Optimization Tips
- Monitor Performance: Keep an eye on TPS and memory usage - learn about reducing server lag
- Regular Updates: Keep your server software and plugins updated
- Player Feedback: Listen to your community for improvement ideas
- Security Measures: Implement basic security plugins and practices
Don't try to install everything at once! Start with a basic server, get comfortable with the controls, then gradually add plugins and features as you learn.
Troubleshooting Common Issues
Server Won't Start
- Ensure you've accepted the Minecraft EULA
- Check that you have sufficient RAM allocated
- Verify no conflicting plugins are installed
- Contact support if issues persist
Can't Connect to Server
- Double-check the server IP address and port
- Ensure the server is running (green status indicator)
- Verify you're using the correct Minecraft version
- Check if whitelist is enabled and you're added
Performance Issues
- Monitor server TPS using
/tpscommand - Consider upgrading your hosting plan if needed
- Optimize plugins and remove unnecessary ones
- Implement performance-enhancing plugins like Paper
Getting Help and Support
If you encounter any issues during setup or need assistance with server management:
- 24/7 Support: Contact our support team through the control panel
- Knowledge Base: Browse our comprehensive documentation
- Community Discord: Join our Discord server for community help
- Video Tutorials: Watch step-by-step video guides
Advanced Topics to Explore
Once you're comfortable with the basics, consider exploring these advanced topics:
- Server Economics: Learn about the costs and potential profits of running a server
- Monetization: Discover how to monetize your server ethically and effectively
- Security: Implement advanced DDoS protection for your growing community
- Performance Optimization: Master server optimization techniques for the best player experience
Conclusion
Setting up your first Minecraft server with Eternal Hosting is extremely simple. With our powerful and intuitive control panel, you can easily manage and customize your server to suit your needs. Whether you want to create a community, play with friends, or experiment with mods and plugins, Eternal Hosting has you covered.
We're committed to making your server hosting experience as smooth as possible. If you ever need assistance, our support team is always ready to help. Start building your Minecraft world today and enjoy endless possibilities with Eternal Hosting!
Remember, this is just the beginning of your server hosting journey. As you become more comfortable with server management, you can explore advanced features like custom plugins, complex redstone contraptions, and community events that will make your server truly unique.
Your Minecraft server adventure begins now! Choose your hosting plan and start building your community today. Need help along the way? Check out our other guides on essential plugins, server security, and performance optimization.